Documents Management
Create Document
- When logged-in in RelateCRM, click the Documents menu item.
- In the right side, click Create Document.
- In the Details section, choose brand, type, owner and set title for the document.
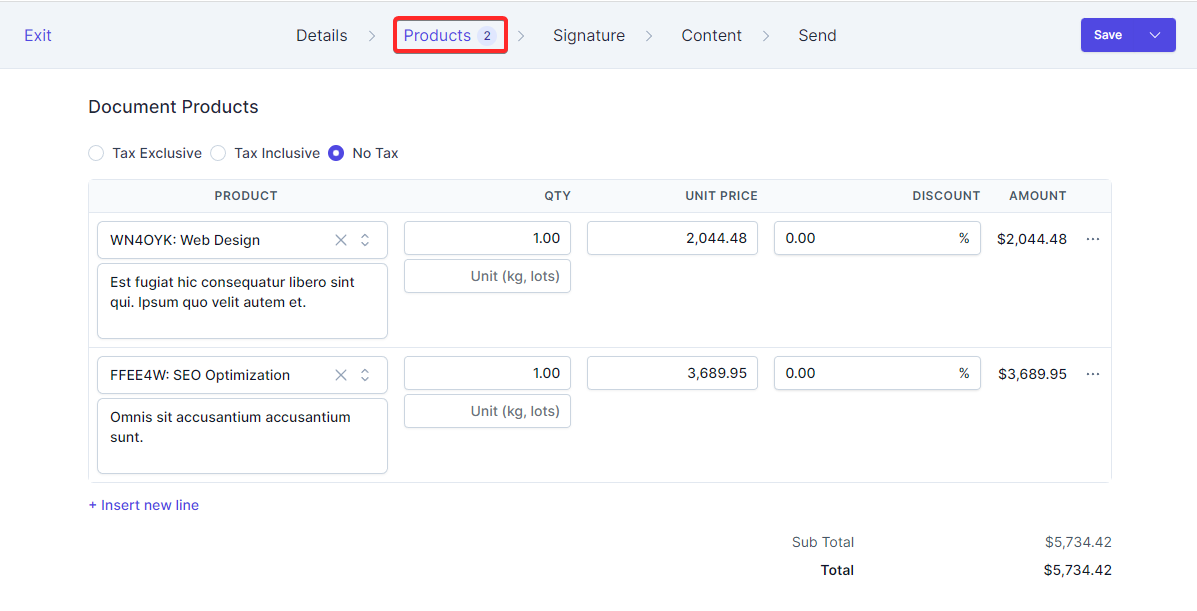
- In the Products section, add products related to the document.
- In the Signature section, choose whether this document requires signature and add signers if needed.
- In the Content section, add document content.
- Click Save
After the document is created, if the selected owner user is different from the user that created the document, the User Assigned To Document mail template will be sent to the owner.
Edit Document
- When logged-in in RelateCRM, click Documents menu item.
- From the table, click the document title.
- The form will be shown, update any fields and data that is needed.
- Click Save.
Document Products
You can add unlimited number of products in the documents Products section, the document amount field will be automatically populated, you can use this field to apply filters, show on the documents table etc...
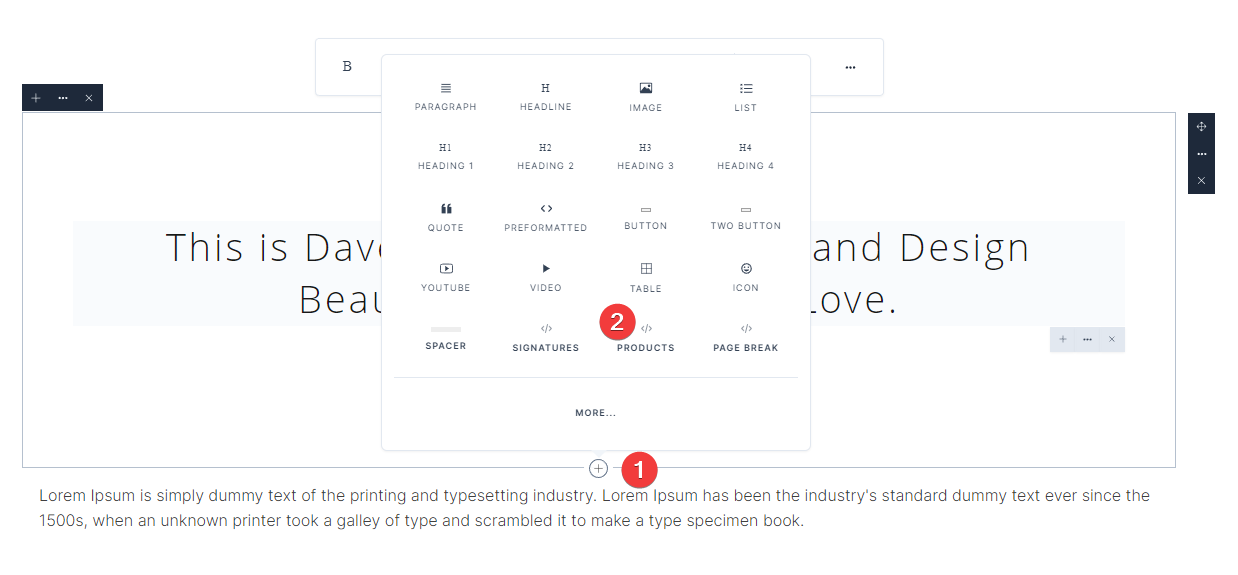
The products you add to the document, can be displayed on the document content, for example, if you are creating proposal document, you can automatically embed all of the document products in the content of the document, they will be displayed on document public view as well on the document PDF.
If you want RelateCRM to embed the products table in the document content, you will need to add the products section via the editor.
Learn more about using products.
Document Signature
You can collect multiple e-signatures for each document you create, RelateCRM will capture the signer IP address, date and time the person signed the document as well their email and full name.
If there is only one signer for the document, after the document is signed, the document will be automatically marked as Accepted, however, for documents with multiple signers, the document will be marked as accepted when the last remaining signer signs the document.
RelateCRM will send notifications to the document owner each time a signer signs a document to ensure that the owner of the document is up to date.
Add Signers
To add signers to a document follow the steps below.
- While creating or editing document, on the top document navigation bar, click the Signature section.
- Make sure Use e-signature is selected.
- Click Add new signer.
- Enter the signer full name.
- Enter the signer email address, make sure to enter valid email address so you can use it later to send the document.
- Click Save.
Remove Signers
- While creating or editing document, on the top document navigation bar, click the Signature section.
- Click the X icon located on the right side of the signer.
- Click Save.
When removing signers for documents with status Accepted, the document will be automatically marked as draft.
Signing Document
The signer can sign a document via the document public URL, usually if you share the document URL directly, the URL can be copied from the top right side dropdown you are on the document edit page, however, when sending the document to the signers via the document Send section, the URL will be included in the mail that is sent to the signer.
Fully signed documents with Accepted status cannot be unmarked as accepted, only deleted. There is only one exception when a signer is deleted from an accepted document, the document status will be automatically changed to Draft.
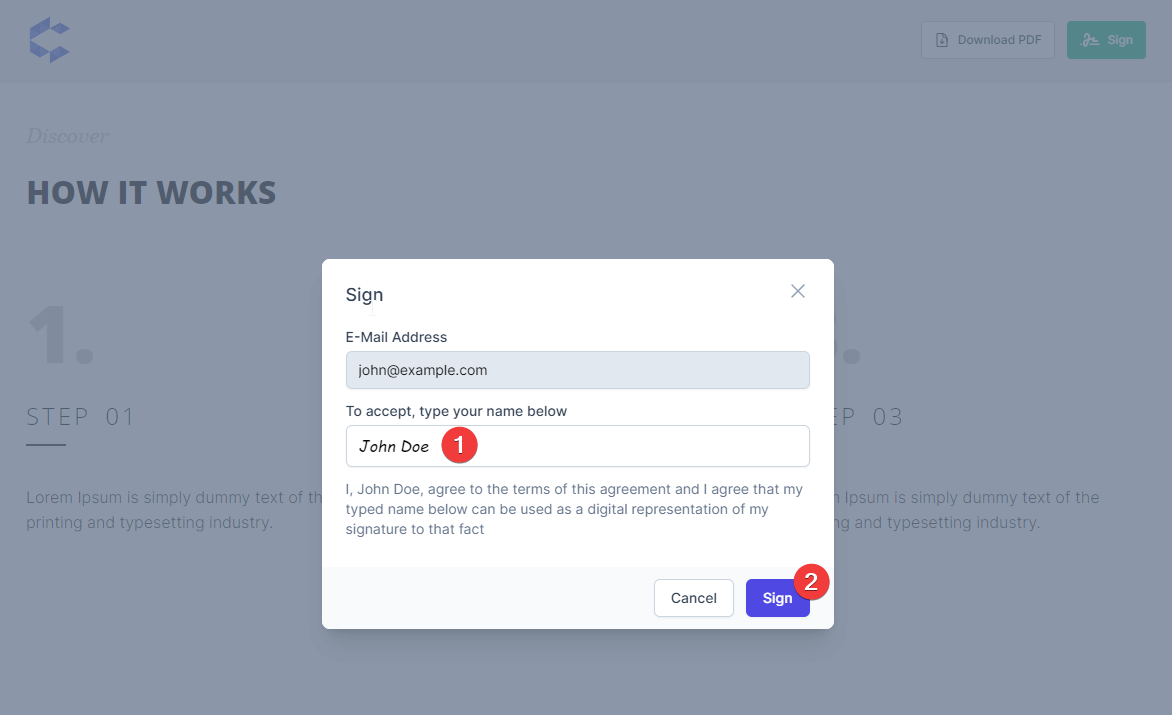
In order a signer to sign a document, the signer must perform the following steps:
- Click the Sign button located at the top right side of the document public page.
- Enter his signer email address for confirmation, the email must match the one that the sale rep added to the signer email field.
- Click Confirm.
- In the To accept, type your name below enter his full name.
- Click Sign.
The signer must enter their e-mail address as a confirmation before signing the document.
After the document is signed, the document owner will receive a bell notification and the Signer Signed Document mail template will be sent.
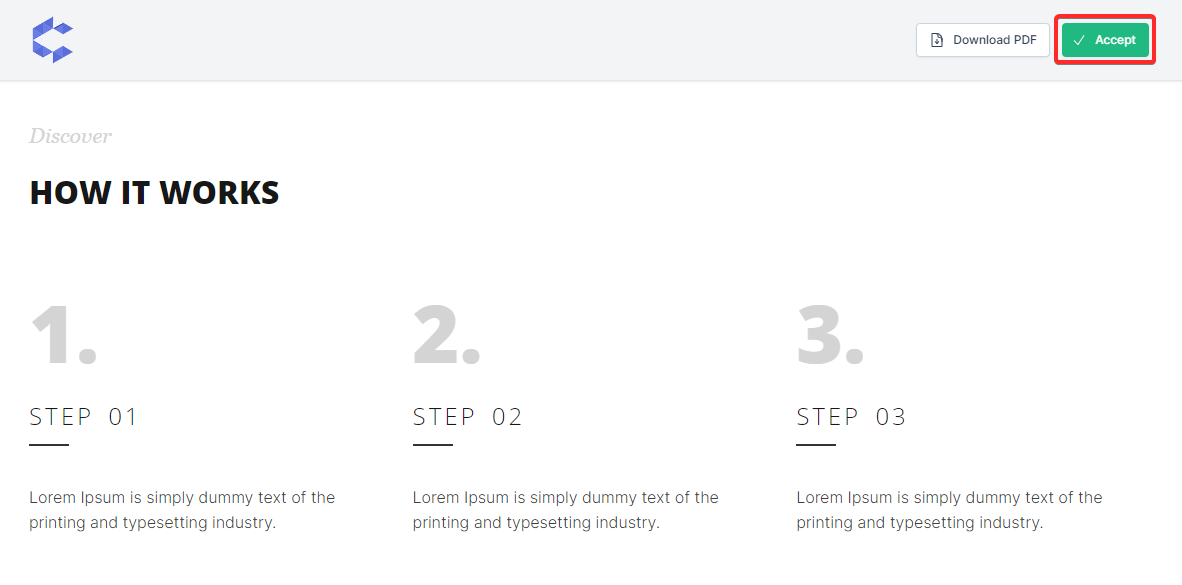
Accept Document
When you have choosen that the document does not requires a signature, the customer will be able only to accept the document without a signature, note that when the document requires signature, the document status will be changed automatically to accepted after all signers signs the document.
The document status will be automatically updated to Accepted and the document owner will receive a bell notification and the Document Accepted mail template will be sent.
This feature allows you to create document without requiring a digital signature, gives you a flexibility to create different type of documents for broader audience.
Accepted documents cannot be unmarked as accepted, only deleted.
Document PDF
You can generate PDF based based on the content that is added via the Content tab while creating or editing the document.
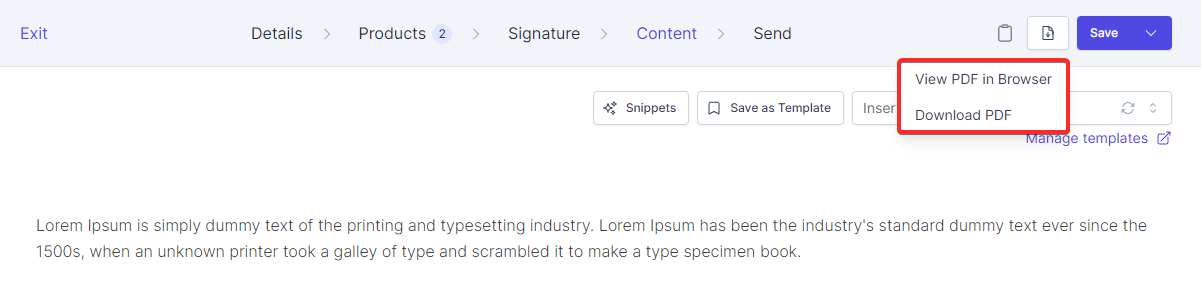
To generate PDF, while editing the document, click on the top right PDF button, you can choose to view the PDF in the browser or download an PDF document on your computer.
Your customers can download PDF of the document via the document public HTML view, the download button is located at the top right side on the navigation bar.
It's impossible to generate identical PDF as the HTML version of the document content, expect that there may be a few differences on the generated PDF.
PDF Font
For each brand you create, you can select a default PDF font, the default PDF font will be used for all of the text that does not have specified custom font via the editor.
It's very important to select a proper PDF font based on the content of the document, if the font does not support any of the special characters you are using, they won't be displayed properly on the PDF.
The DejaVu Sans font gives the most decent Unicode character coverage by default, make sure to select the proper font if special characters are not displayed on the PDF document.
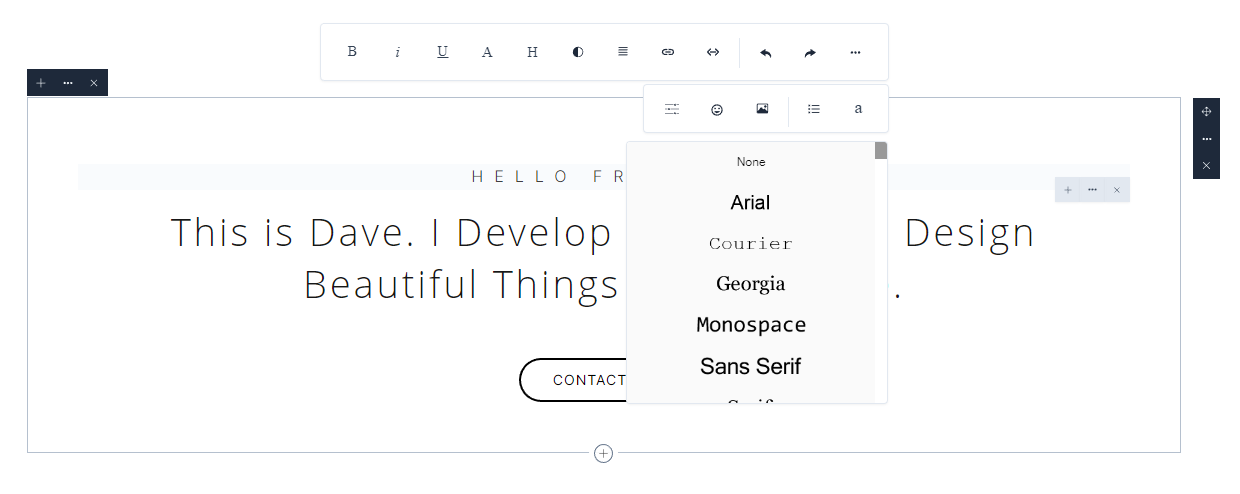
In some cases you will want to use different font than the default font that the brand is using, to override a text with different font directly from the editor, please check the image below.
However, if there are special characters, as mentioned before, you will need to make sure that the font you select will support unicode and special characters,
Placeholders
The placeholders are list of predefined dynamic tags that when viewing the document HTML or PDF are replaced with their actual values.
You can add placeholders directly to the document content or in a document template, in most cases, the most time where you will use placeholders is when using document templates.
You can add placeholders from the document brand, associated deal, company or contact and miscellaneous/general placeholders like company name.
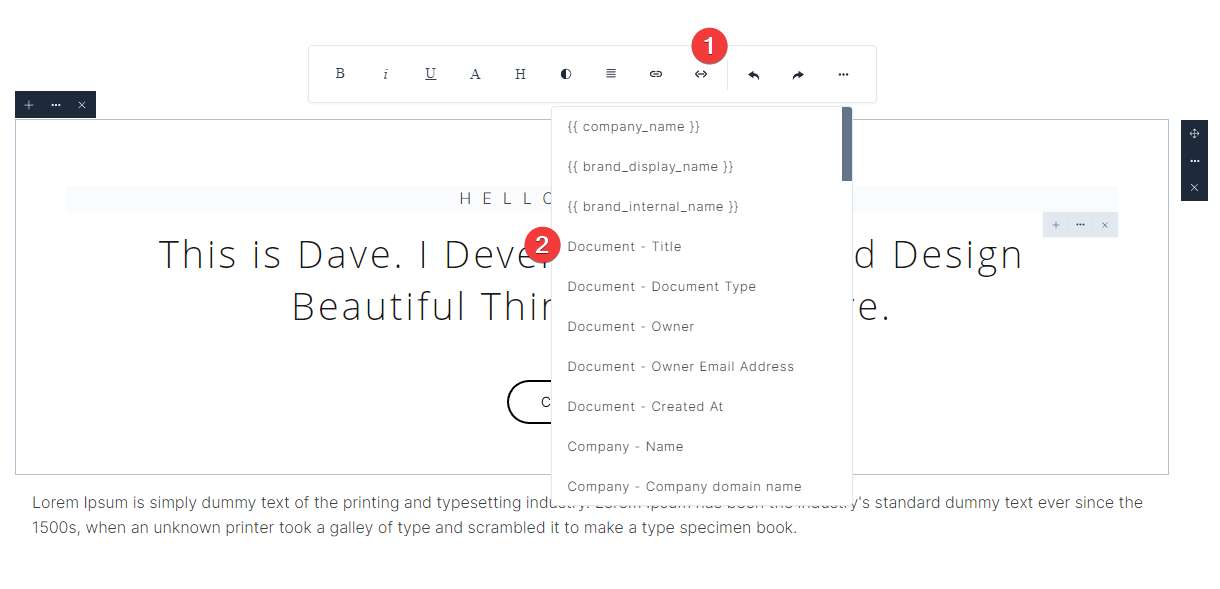
To add a placeholder to document content or template, focus on editor section or select text to replace it with placeholder tag, then use the top editor toolbar code icon to choose the placeholder you want to add.
NOTE
When placeholders for deal, contact or company are used and the document has multiple associations, the values of the placeholders will be taken from the first associated record.
Send Document
Only users with granted permissions to edit documents either owned or all can use the send document feature.
In order send a document, follow the steps elow:
-
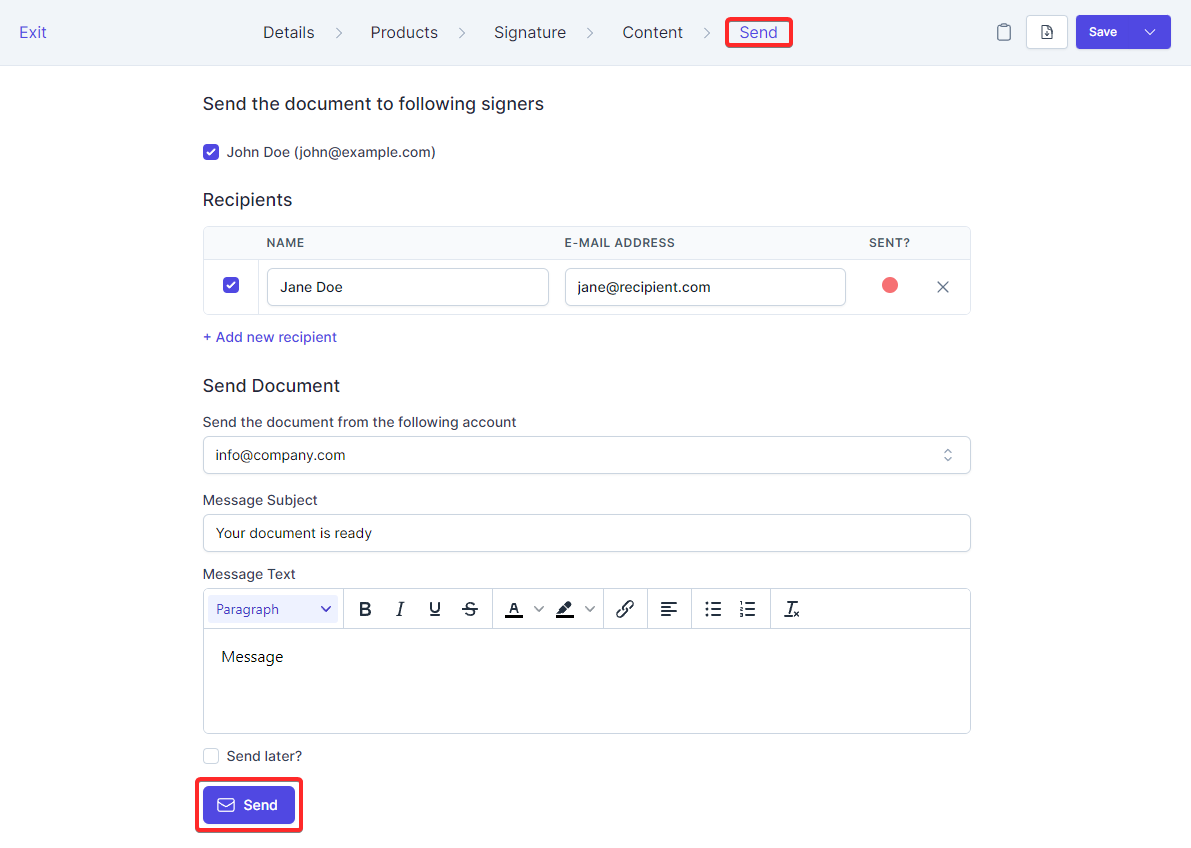
While creating or editing document, on the top document navigation bar, click the Send section.
-
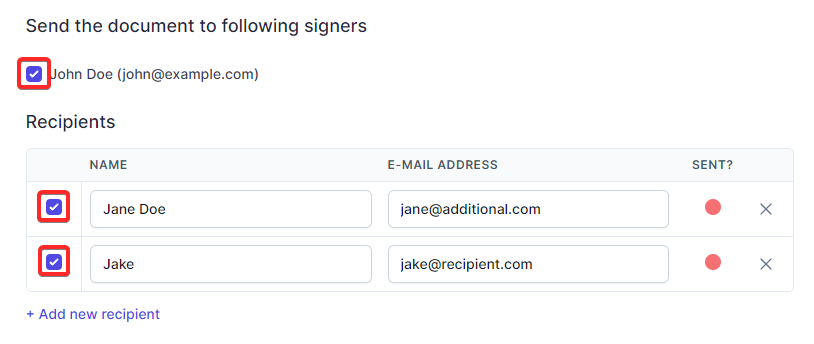
If you previously added any signers, the signers will be automatically pre-selected for sending.
If you don't want to send the document to specific signers, uncheck the checkbox located left of the signer name.
-
To add additional recipients, click Add new recipient.
-
Select an email account from which you want to send the document from.
-
Enter message subject.
The default subject can be changed via the document brand settings
-
Enter message text.
The default message text can be changed via the document brand settings
-
Click Send.
Scheduled Sending
To send the document later based on your choosen date and time, check the Send later? checkbox and choose date and time when you want to send the document.
Make sure to actually check which signers and recipients you want the document to be sent when scheduling send for a specific date and time.
This feature requires working cron job, the document will be sent at the specified date and time only if the cron job is configured properly.
Document Views
RelateCRM tracks each time the customer view the document HTML page and notifies the owner of the document that the document has been viewed.
This feature will allow the sale rep to be up to date of whether the customer viewed the document he/she sent.
The document owner will receive a bell notification and the Document Viewed mail template will be sent.
Additionally, RelateCRM will log an activity for the document of the view, see the image below.

Document views are not tracked when a logged-in user views the document.
Note that the customer can reload the page multiple times in a short period when viewing the document, RelateCRM won't log activity and notify the owner again when each time the customer reloads the page, for this reason, document views are only tracked hourly.
For example, if the customer visits the document public view page after 1 hour from the first visit, this visit will be counted as a view and a notification will be sent again to the owner.
Templates
The templates feature can help you save hundreds of hours manually create each document, imagine if you are sending 10 proposals a day to your potential customers, you will need to manually create the content of these proposals each time a proposal is needed to be sent.
Using the templates feature, you can create predefined sets of content that can be easily inserted in the document content.
Save Document Content As Template
To save the current document content as a separate template follow the steps below:
- While in the document Content section click Save Template.
- Enter meaningful template name
- If you want to share team template with other team members, check the Share this template with other team members? option.
- Click Save.
Insert Template
To insert template in the document content, while in the Content tab use the top right Insert Template dropdown to choose the template you need to insert in the content.
After the template is selected, the document content will be automatically updated.
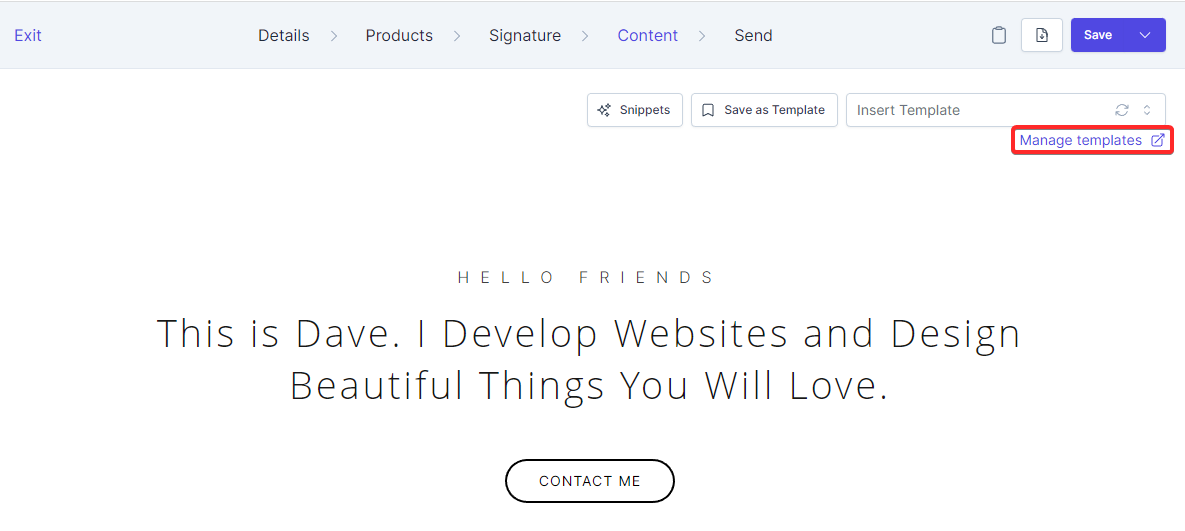
Manage Templates
To manage the templates you need to click on the Manage Tempaltes link, you will be redirected to the templates view, via this view, you can edit, create and delete templates.
Additionally, if you or your team members are accessing the templates more often, you can simply bookmark the link.